Forms is one of the lesser-known apps in the Office suite, yet it is one of the most useful and powerful. It does what it says on the tin – with Microsoft Forms you can create forms and quizzes that can be shared both inside and outside your organisation. Forms is easy to use, and you’ll be up and running with your own surveys, quizzes, forms and more in no time!
Who can use Microsoft Forms?
Is Microsoft Forms free? If you have any of the following licenses, then the answer is yes!
Office 365 Education
- Office 365 A1 Plus
- Office 365 A5
- Existing customers who purchased Office 365 Education E3 prior to its retirement
Microsoft 365 Apps for business
- Microsoft 365 Business Basic
- Microsoft 365 Business Standard
- Microsoft 365 Business Premium
- Microsoft 365 Apps for enterprise
- Microsoft 365 Enterprise E1, E3, and E5 plans
- Existing Office 365 Enterprise E4 customers who purchased E4 before its retirement
How to Access Microsoft Forms
The first step is accessing the application. You will need to log in to your Microsoft 365 account via the browser. When you do this, you will be greeted by the different applications available to you such as Outlook, Word and SharePoint. You may not be able to see Forms straight away when you log in. Not to worry, all you need to do is click on ‘explore all apps’ underneath the application tiles. Find Forms and click on it and you should be taken into the application. If you can’t see Forms check it is part of your Microsoft 365 package.
How to Create a Microsoft Form
The first thing you’ll need to do is go to office.com and sign into your account. Then choose Forms from the list of apps. Alternatively, you can go straight to forms.microsoft.com.
From the Forms home screen, choose New form. Then click on Untitled Form, and give it a name and a description.
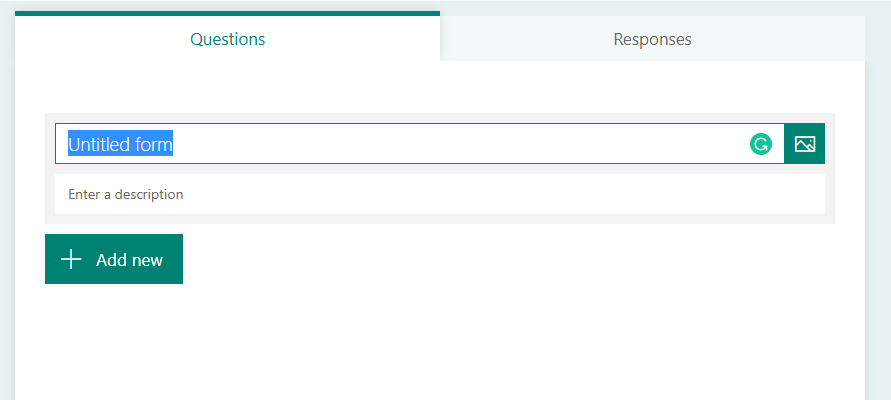
Once you’ve given the form a name, its time to add some questions! Click Add new to get started.
There are a few different types of questions:
- Choice: This is a multiple choice that lets you add as many choices as you like! Select Multiple answers if you like, so users can tick any boxes that apply to them.
- Text: The user will type in their answer manually.
- Rating: users can give a star or number rating, between 2 and 10.
- Date: users fill out a chosen date
- Ranking: users can rank their preferences
- Likert: this is used to gauge attitudes and opinions about a topic
- File upload: A new folder will be created in OneDrive. Files uploaded by responders will be captured in this folder. Note that responder names and file details will automatically be recorded in OneDrive.
- Net Promoter Score: provides a 0-10 scale and gives you an NPS at the end
You can also add in different sections to your forms, which is particularly useful if there are a number of different topics you’d like to include. You can include a description at the start of each of your sections.
There are some different options you can choose for your different question types. To avoid favouritism, try shuffling your answers. You can add a subtitle under the question title – this might have more information, or say how many answers the user can give.
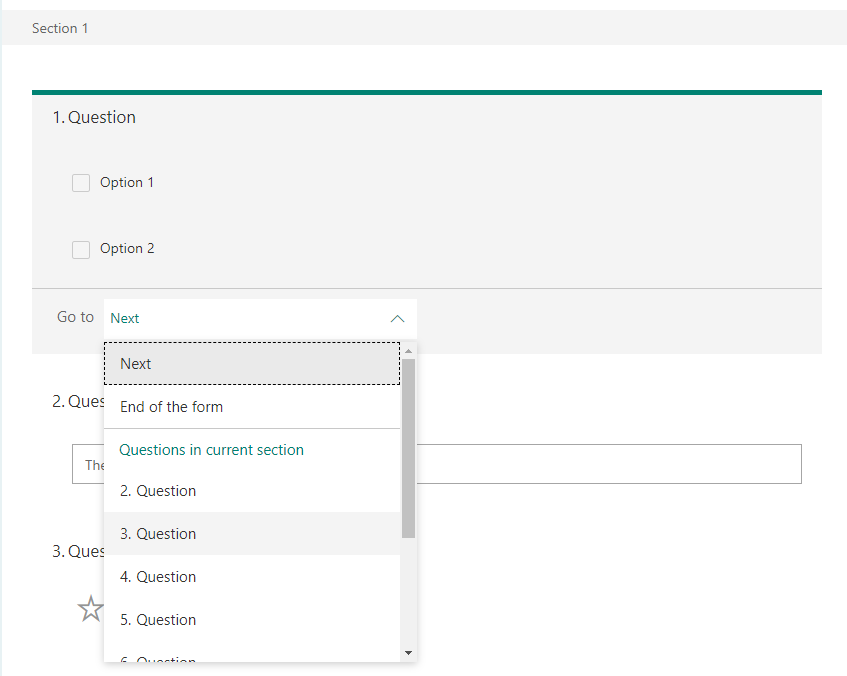
One of the most useful features in Microsoft Forms is branching. You can display a different question depending on a given answer, or skip an entire section completely.
Quizzes in Microsoft Forms
Creating a quiz in Microsoft Forms follows most of the same steps, but you can assign points for each question. You can assign up to 100 points per question, and the total number of points available will be displayed next to the quiz title.
Customise Forms
When you’re happy with your questions, you might want to give your form a bit of style. You don’t have to have the default green! Click on Theme, and you can choose one of the default colours or images. But if you want to go one step further, click the + button, and you can upload a custom image, or choose your own colour.
Sharing your Forms
You can see what your form will look like by clicking Preview. And before you send, you might want to look at settings. Click the 3 dots in the top right and choose Settings. For forms going to your organisation only, you can track who has filled the form out and limit it to one response per person. You can have a start and end date, if you only want the form to be active for a certain amount of time, you can shuffle the order of the questions, send a personalised thank you message and get notifications when someone fills the form out.
When you’re happy, it’s time to share it! When you share the form, you can choose to share it with:
- Anyone with the link can respond
- Only people in your organisation can respond
You can share the form via email, QR code, embedding onto a webpage or copying the link and sharing anyway you like.
Forms Feedback
When your form has been sent, you can see real-time results. Click on Responses to view the answers provided. We think the easiest way to see all responses to all questions by opening in Excel.
Microsoft Forms is easy to use, and a great way to conduct surveys and other forms quickly. Unlike other survey providers, it isn’t overly complicated, and if you have a Microsoft 365 license, you won’t need to pay for it! If you’d like to learn more about Forms or other products in the Office suite, get in touch with us today.